Using Google Photos instead of Apple Photos on your iPhone or iPad
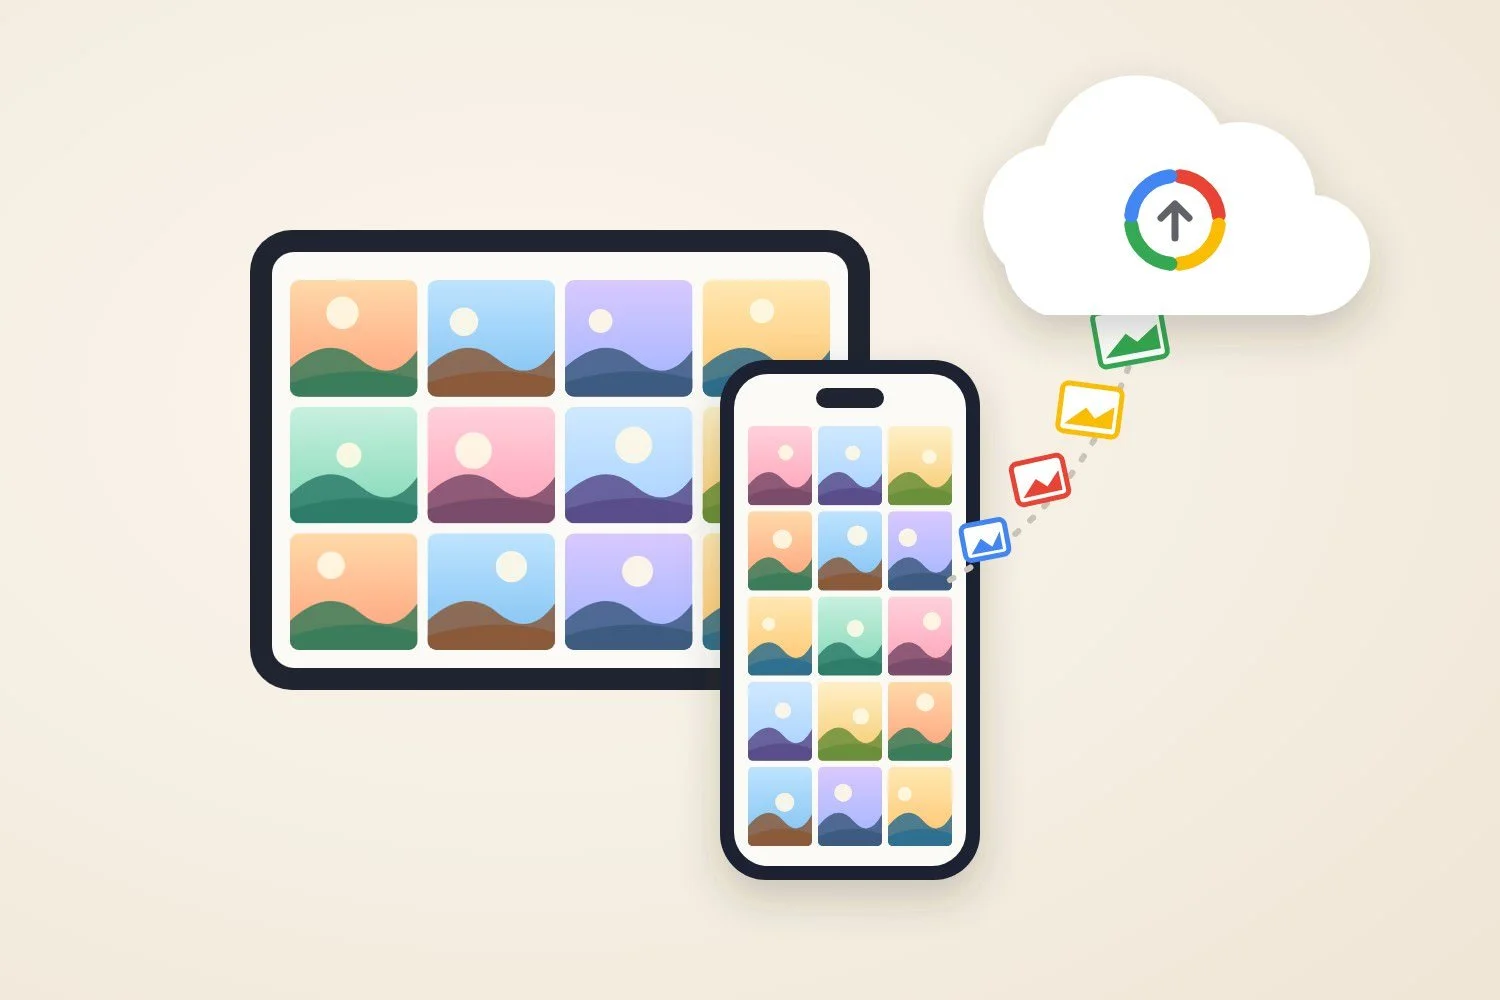
You can use an iPhone or iPad every day and keep your photos in Google Photos instead of iCloud. It takes about ten minutes to set up, plus however long your library takes to upload.
I hear this question a lot from clients at The Picture Org(anizer). Maybe your family shares photos through Google, you have an Android tablet or a Chromebook in the house, or you simply like Google's search and sharing better. Whatever the reason, Apple doesn't lock you in, but there are a few settings that make the difference between a clean switch and a mess of missing or downsized photos.
In this post I'll walk you through:
Setting up Google Photos on your iPhone or iPad so new photos back up automatically, at full resolution
Moving your existing iCloud Photos library over in one step, using Apple's own transfer tool
Confirming everything actually arrived before you change anything on the Apple side
The caveats people run into most: quality, storage, Live Photos, albums and privacy
Before you start
The two things that decide how smooth this goes are Google storage space and where your full-size originals actually live today.
A Google account with enough room. Every Google account comes with 15 GB free, shared across Gmail, Google Drive and Google Photos. A typical iPhone library is far bigger than that, so most people will need a Google One plan. Check how big your library is first: on your iPhone go to Settings > General > iPhone Storage > Photos, or Settings > [your name] > iCloud to see what iCloud Photos is using.
Know whether your iPhone holds the originals. Go to Settings > Photos (or Settings > [your name] > iCloud > Photos). If Optimize iPhone Storage is selected, your phone keeps small preview versions and the full-resolution originals live only in iCloud. That matters for step 2 below.
Wi-Fi and a charger. The first backup can run for hours or days. Plan to leave the phone plugged in overnight on Wi-Fi.
Decide on the quality setting before you upload. I recommend Original quality (more on this below). Changing your mind later means re-uploading.
Step 1: Set up Google Photos backup on your iPhone or iPad
Once backup is on, every photo and video on the device, old and new, uploads to Google Photos automatically.
Install Google Photos from the App Store and sign in with your Google account.
When iOS asks for photo access, choose Allow Full Access. If you pick Limited Access, Google Photos only sees the photos you hand-pick, and new photos won't back up. To fix it later: Settings > Apps > Google Photos > Photos > Full Access (on older iOS versions, Settings > Privacy & Security > Photos > Google Photos).
In Google Photos, tap your profile picture (top right), then Google Photos settings > Backup.
Turn Backup on.
Tap Backup quality and choose Original quality.
Decide whether to allow uploads over cellular. If your data plan is limited, leave it off and let it run on Wi-Fi.
Allow notifications when asked. Google Photos uses them to keep backing up while the app is in the background.
Watch the status at the top of the Photos tab. It moves from Preparing backup to Backing up to Backup complete. Tap it any time to see what's left. For a big first backup, keep the app open with the phone plugged in; iOS limits how much an app can do in the background.
If your iPhone uses Optimize iPhone Storage, the originals have to come down from iCloud before Google can upload them, so a large library can crawl or stall. That's exactly the case Apple's transfer tool in Step 2 handles better.
Step 2: Transfer your existing iCloud Photos library directly
Yes, there's a direct route: Apple will copy your whole iCloud Photos library to Google Photos for you, server to server, without going through your phone. It's free and it leaves your iCloud library untouched.
It's the better choice when your iPhone uses Optimize iPhone Storage, your library is large, or iCloud holds photos that aren't on this particular device. If your phone already stores every original and the library is modest, Step 1 alone may be all you need.
What you need first
Two-factor authentication turned on for your Apple Account.
iCloud Photos in use.
Advanced Data Protection turned off (Settings > [your name] > iCloud > Advanced Data Protection). You can turn it back on after the transfer.
Enough free space in your Google account for the entire library. If Google runs out of room partway, the transfer stops short.
Not available for child accounts or Managed Apple Accounts.
How to do it
On a computer or iPad, go to privacy.apple.com and sign in with your Apple Account.
Choose Request to transfer a copy of your data.
Select what to transfer (photos, videos, or both) and choose Google Photos as the destination.
Sign in to your Google account when prompted and allow access.
Confirm. Apple emails you when the transfer starts and again when it finishes.
Apple says it usually takes three to seven days, and occasionally up to 30. Anything you add to iCloud after the request starts isn't included, which is why Step 1 matters too: it picks up everything from here forward.
What does and doesn't come across
Comes across
Doesn't come across
Photos and videos in common formats, including HEIC, JPEG, PNG, RAW, MOV and MP4
Live Photo motion (they arrive as still photos)
Your albums (photos only; videos come across outside their albums)
Shared albums and Smart Albums
The most recent edit of each photo
The unedited original of an edited photo
Some metadata
Google Photos also caps albums at 20,000 photos, so a giant album won't come through whole. Running both Step 1 and Step 2 can leave some doubles, such as an edited photo next to its original; Google skips exact duplicates, but not near-duplicates.
Step 3: Confirm everything is there
Don't change a single setting on the Apple side until you've checked that Google really has everything, at full size. Here's the checklist I use:
Backup says complete. The top of the Google Photos app reads Backup complete, with nothing waiting.
The transfer email arrived. If you used Step 2, Apple's "completed" email is in your inbox. You can also check the request's status at privacy.apple.com.
Compare counts. Scroll to the very bottom of the Library in Apple Photos to see the total number of photos and videos. Then compare that to Google Photos on a computer at photos.google.com. Expect small differences from merged duplicates, but not hundreds.
Check the oldest and busiest dates. Jump to your earliest photos, a holiday, a wedding, a trip. These are the ones that tend to go missing.
Check resolution. Open a recent photo in Google Photos and swipe up (or tap the i) to see its details. A photo from a recent iPhone should show its full size, for example 12 MP or 24 MP, not a downsized number.
Play a few videos, especially long or 4K ones, all the way through.
Look at your albums. Make sure the ones that matter came across and are complete.
If something's missing, leave Google Photos open and plugged in on Wi-Fi a while longer. Most gaps are just a backup that hasn't caught up yet.
Step 4 (optional): Turn off iCloud Photos
You don't have to turn off iCloud Photos. Plenty of people keep both running as a double backup. But if you're switching to save on iCloud storage, do it carefully, in this order.
Keep a full-resolution copy somewhere you control first. If your iPhone uses Optimize iPhone Storage, turning off iCloud Photos can leave only the small preview versions on your phone. Download your originals to a Mac or PC (or an external drive) before going further.
Turn it off on this device: Settings > [your name] > iCloud > Photos, then turn off Sync this iPhone (or iPad). When asked, choose Download Photos & Videos if you have room; Remove from iPhone clears them from the phone, which is fine only if you've confirmed Google and your own copy have everything.
Turn it off everywhere and delete from iCloud (only when you're sure): Settings > [your name] > iCloud > Storage > iCloud Photos > Turn Off and Delete Photos. If you use an iCloud Shared Photo Library, leave it first.
Apple keeps your iCloud photos for 30 days after you do this, and you can tap Undo Delete during that window. After that, they're gone from iCloud for good.
One thing to watch: while iCloud Photos is still on, deleting a photo in either app deletes it from your iPhone and from iCloud too. In Google Photos, Delete from device removes only the copy on your phone, but with iCloud Photos on, that deletion flows to iCloud as well.
Common caveats and concerns
"Will I still have the Apple Photos app?" Yes. On an iPhone or iPad, the camera always saves into Apple's Photos library on the device. Google Photos doesn't replace that; it backs it up and becomes your cloud copy in place of iCloud. You can browse in whichever app you like.
Full resolution. This is the one I'd most want you to get right. Google Photos offers two backup qualities:
Original quality keeps every photo and video exactly as shot.
Storage saver shrinks photos larger than 16 MP down to 16 MP and converts video above 1080p down to 1080p. Recent iPhones can shoot 24 MP and 48 MP photos and 4K video, so Storage saver throws real detail away.
Since June 2021, both settings count against your Google storage, so Storage saver no longer means free. For family photos you care about, choose Original quality.
Storage costs. Your free 15 GB is shared with Gmail and Drive. Most libraries need a paid Google One plan, much like they needed paid iCloud+.
Live Photos. Backing up from the Google Photos app keeps Live Photos, motion included. Apple's transfer tool brings them over as stills only. If Live Photos matter to you, let the app back up everything that's on your phone.
Edits. Apple's transfer sends only the latest edited version of each photo, not the untouched original. App backup uploads what's in your library, which is also the edited version.
HEIC files. iPhones save photos as HEIC. Google Photos handles them fine, but a downloaded HEIC may not open on an older Windows PC without an extra codec.
Albums, captions and people. Regular albums come across. Shared albums, Smart Albums, and Apple's People names don't, and Apple notes that some metadata is lost. Google will build its own face groups and search.
Privacy. Google Photos isn't end-to-end encrypted. Google analyzes your photos to power search and face grouping, and you can turn face grouping off in Google Photos settings > Preferences > Face Groups. iCloud with Advanced Data Protection on is end-to-end encrypted. If privacy is your top priority, weigh that before you switch.
Don't rely on one cloud. Whichever service you pick, keep a second copy of your most important photos on a drive you own. A cloud account can be locked, hacked or closed.
Need a hand?
Switching photo services is one of those jobs that's easy to start and easy to get slightly wrong, and you usually don't find out until a photo you're looking for isn't there. If you'd rather not do it yourself, or your photos are spread across old phones, computers, drives and shoeboxes, that's exactly what we do at The Picture Org(anizer). We'll help you gather everything into one organized, backed-up library, whichever ecosystem you choose. Get in touch through thepictureorg.com.